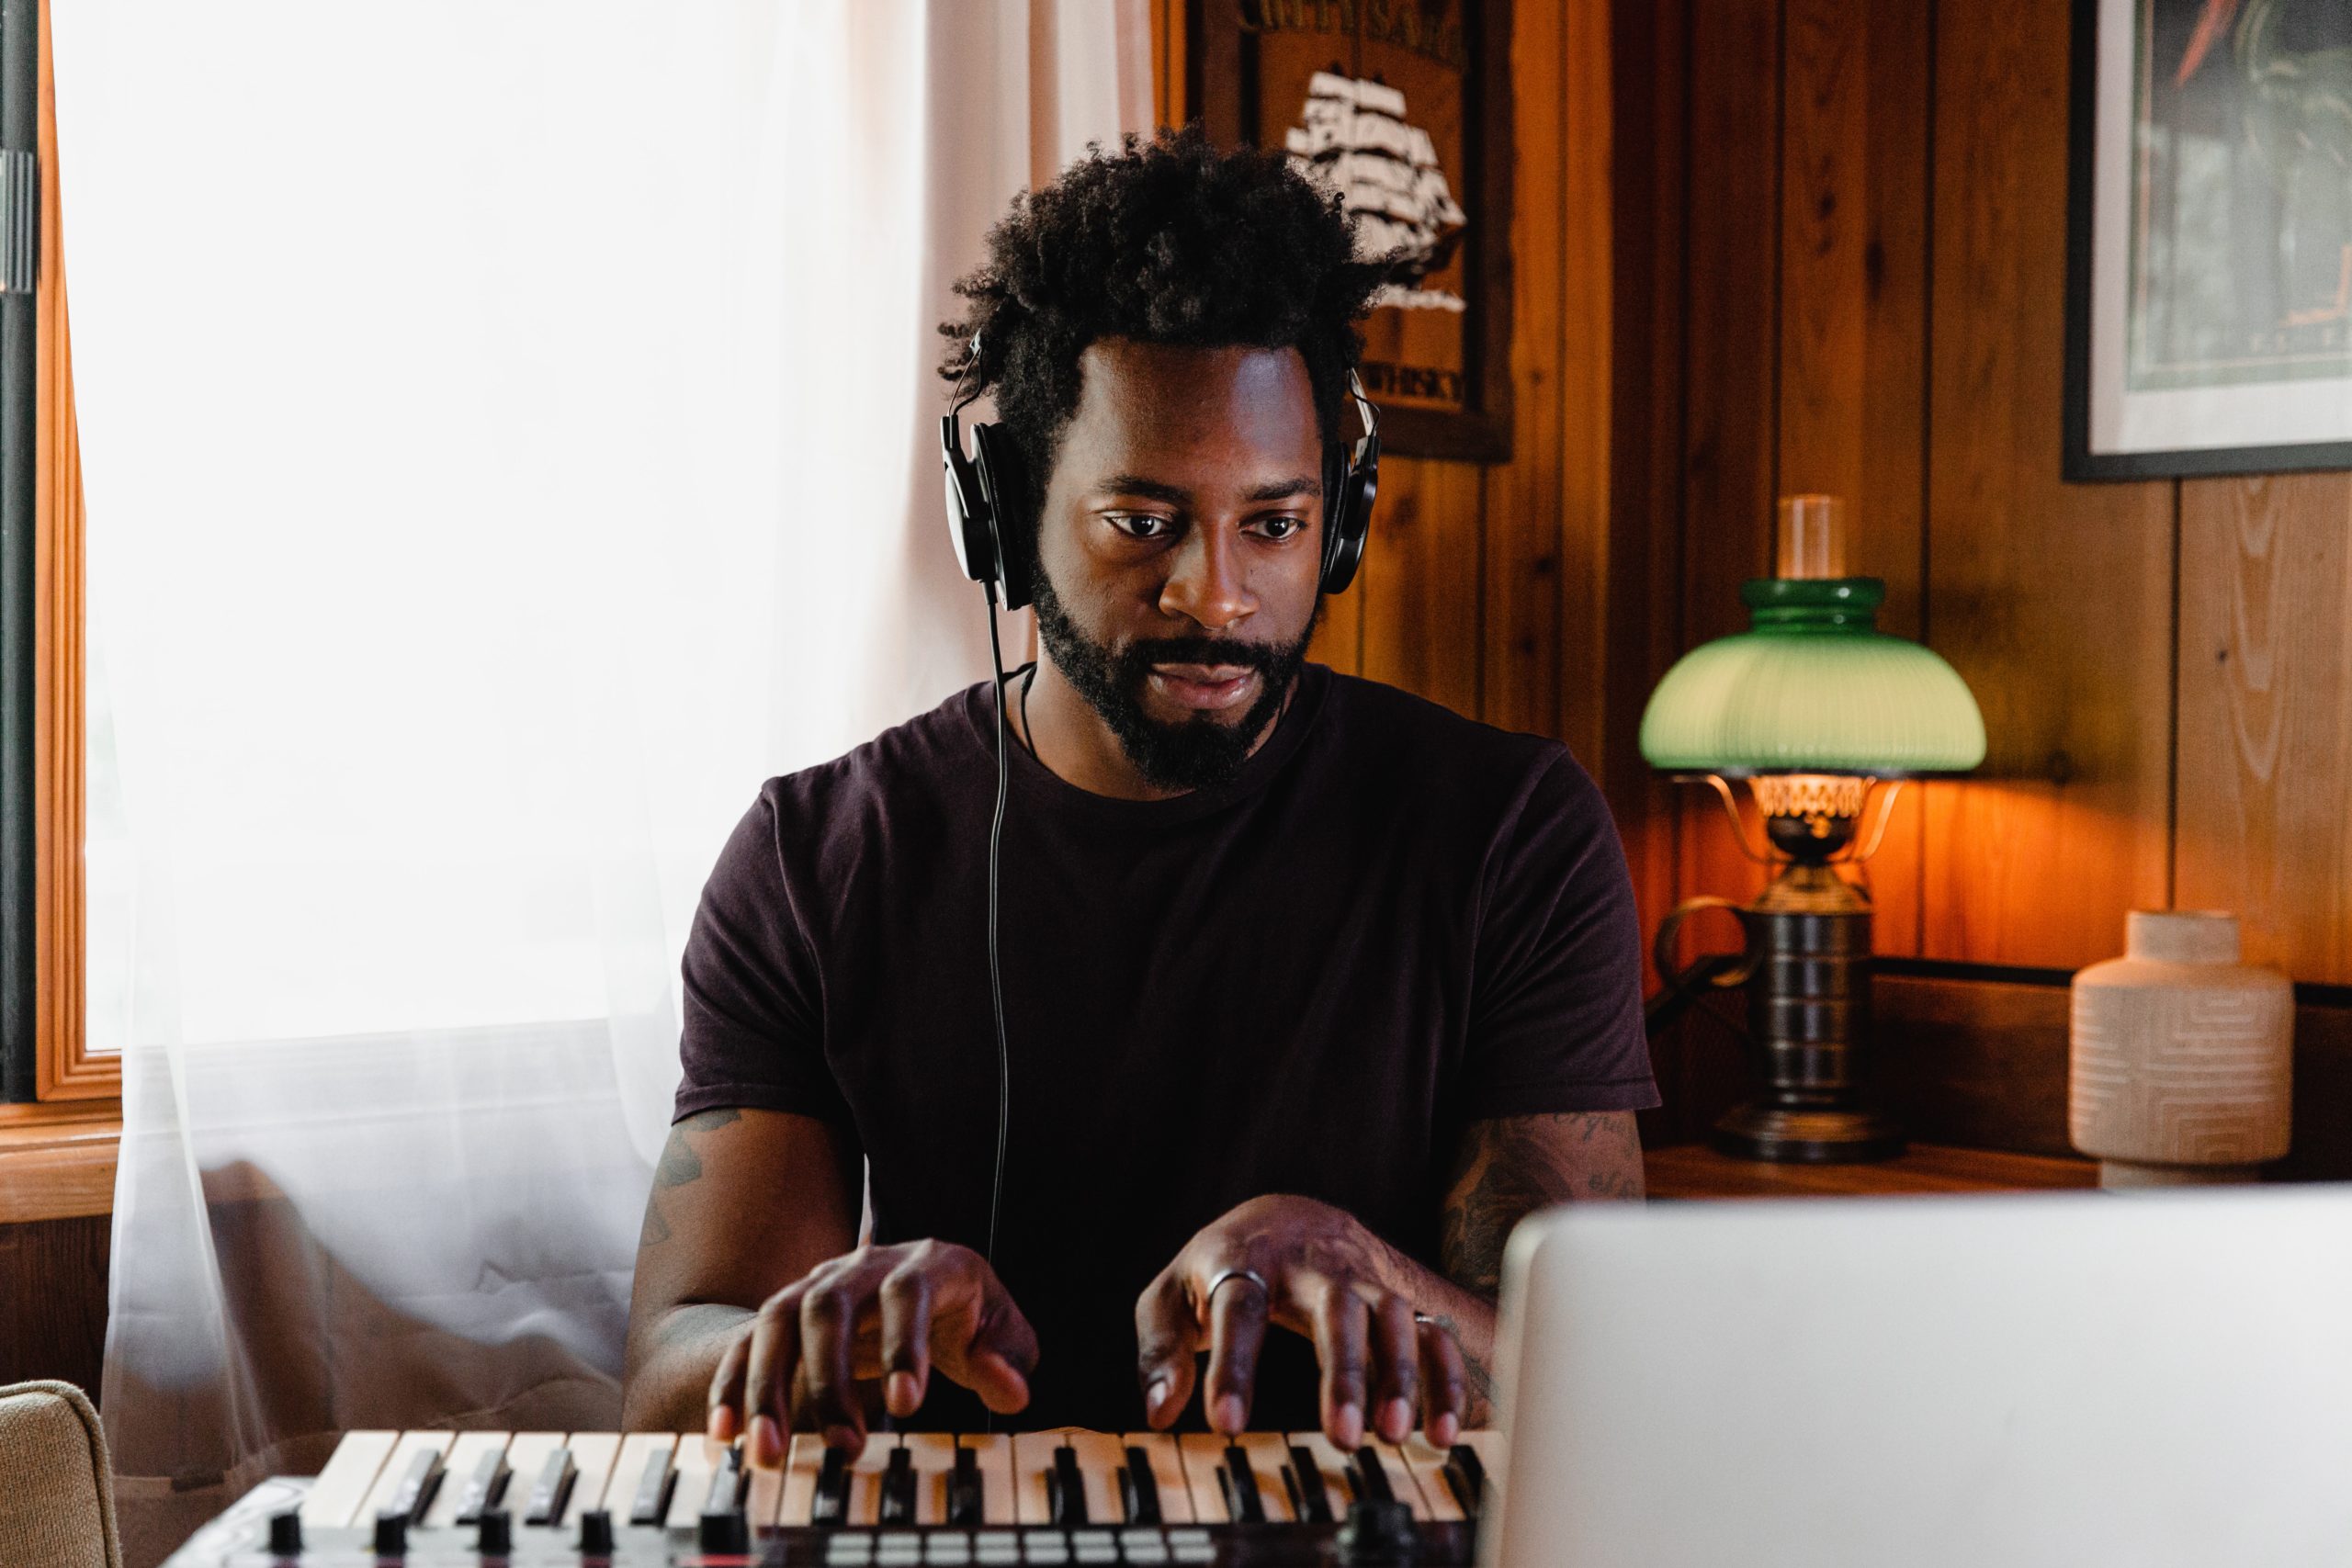
Having a home studio is becoming more and more popular. Bands and artists are spending less on studios and choosing a more DIY approach to music, taking it back to a more primitive level. In recent months, COVID-19 has made this less of a musical choice and more of a necessity, with many studios being shut due to lockdown restrictions.
BIMM Dublin’s Music & Audio Production Diploma course leader is the very talented Stephen O’Brien, who had success with the band, Hal that charted in the UK Top 30. He has also worked with a plethora of recording artists and has more experience in the industry than I’ve had hot meals. He’s here to offer some of his hot tips for anyone looking to set up a home studio on a budget:
1. Computer Selection (Laptop vs. Desktop)
Ask yourself this: does your set up NEED to be portable? Is your current computer good enough to handle large files? Do I need an external hard drive to help my computer cope?
Stephen’s advice: Although laptops are light and portable they usually have a lower spec and are slower as well as being battery operated. Desktops tend to be the choice for the majority of home studio owners. They have a high spec and a bigger hard drive making them faster with better RAM capacity.
2. Mac vs. PC
The big argument. The majority of the industry and music producers are opting to use Mac, despite them being a lot more expensive.
Stephen’s advice: A computer is a computer, there should be no snobbery about it. Macs tend to be more standardised, more compatible with hardware, but are a lot more expensive. PCs are a tricky one; they do tend to be a lot cheaper, and if the right PC is selected, then you should run into no problems whatsoever. However, research is key.
3. Interface
There are hundreds of different ones to choose from, all with completely different spec and connections, making it a bit of a minefield. There are loads of forums and advice that you can find online.
Stephen’s advice: Firstly, decide how many inputs you need – if you’re starting out or making beats, then one or two will do. If you’re recording bands, you’ll need at least eight inputs. You’ll also need to make sure that it’ll be compatible with your computer. Research and make a decision based on that. It’s suggested that USB microphones should be avoided.
4. DAW
DAW stands for Digital Audio Workstation. This is your go-to programme when you’re recording and making music. A whole host of plug-ins are available too!
Stephen’s advice: Use a DAW that works well for you. Some are more complex than others and some are only MAC compatible. Pro Tools is the industry standard for recording, with really good features and sound, and it’s compatible with MAC and PC.
When it comes to plug-ins, some are available online for free, but things can also get very pricey. Samplers, libraries and virtual instruments, such as Kotakt, East West and Vienna strings are great, but expensive – for the more advance users.
5. MIDI Controller
This is going to be used to trigger different sounds on your programme of choice so that you can compose and arrange.
Stephen’s advice: Although MIDI is a slightly old technology, it’s incredibly expansive and helpful when trying to compose music. This hardware ISN’T essential, but it will make your life an awful lot easier.
6. Speakers
Speakers and monitoring headphones can get very expensive, but they can also be purchased to fit with any budget, and like most things, more expensive doesn’t necessarily mean better.
Stephen’s advice: Monitors or monitoring headphones are fundamental in creating a decent sound. Without them, the sound isn’t going to be as it is intended to. If you’re planning on spending £200 on some speakers, I suggest that you use a third of that money to treat your room. Without a treated room, your speakers are not going to sound as good as they could.
When setting up your speakers, make sure they’re set up as an equilateral, meaning that you’re an equal distance from each speaker. If you’re not, then the sound won’t be as it’s intended; a true stereo image.
7. Microphones
With a whole world of choice, this can be a bit of a minefield. Some great brands have microphones, which designs haven’t changed since the 50s. How’s that for quality?!
Stephen’s advice: Use microphones that have been tried and tested. Some microphones’ designs have remained the same since the 50s. If you’re starting off, you’ll probably need a condenser microphone. These, however, can get very expensive and I’d suggest spending at least £300. If your budget won’t stretch this far, you’ll probably have to get a dynamic microphone. These are durable and are the industry standard.
8. Microphone pre-amp
Microphone pre-amps are used to boost the signal of quiet instruments and voices. It does this by converting the signal into electricity and boosts it to a useable ‘line-level’ signal.
Stephen’s advice: Most cheaper interfaces are actually pretty good. To get a better sound, you may consider getting better pre-amps. This can get very expensive. If you’re recording loud instruments, you may be okay with a cheaper pre-amp.
9. Room Treatment
This is extremely important. Room treatment can be done completely DIY and on a budget. Quality of room acoustics can prove very important when recording.
Stephen’s advice: Whether you’re hacking up IKEA furniture or using old clothes – room treatment is essential. The idea is to stop the echo and create a more professional sound.
Setting your microphone in a wardrobe is often done at home studios. If you record vocals into your clothes, some of the sound gets absorbed, thus creating fewer reflections.
Other equipment to consider:
Pop shields, microphone stands, headphones, cables
So, there we have it. Your comprehensive guide on setting up your very own home studio. Good luck!


